Thursday, September 24, 2015

Fall Tomato Cage Tree

I thought I would do a post on a fall decoration I recently made.

Buy a tomato cage - or if you already have these, all the better. Turn it upside down and tie the ends together with twine. It has a tendency to lean, so you might have to straighten it a little.


Wrap it in a garland of fall leaves.

There are different ways to do this. You can swirl it around and around or go straight down the wires. The leaves are swirled in the first three pictures.


 I tried different toppers. Once, I topped it with a straw hat, once I topped it with a pretty fall bow and finally I topped it with a small corn pic.

 Experiment and try different toppers and different ways of wrapping the leaf garland.

On my deck

in my dining room!

My final version has the garland(s) going down and across the wires. I secured them with pieces of thin ribbon. You can use orange, yellow or beige ribbon. It blends right in with the leaves.

I got a basket and placed the pumpkins in it 
and placed it inside the tree. 


If you have a set of small lights, you could string them on the tree.

I love the way it turned out. If you haven't already made one, maybe you could give this easy craft a try.

I love fall!


Sunday, September 20, 2015

Freezing Corn - the Easy Way


I love corn put up in the freezer. It is so much better than canned corn from the store - much better.

I used to do it the hard way. I would blanch the ears of corn, then put them in ice water in the kitchen sink to cool. This was very time consuming, messy, and used a lot of ice.

This is how I do it now. And, if you don't want to make a sticky mess in your kitchen, do it outside.

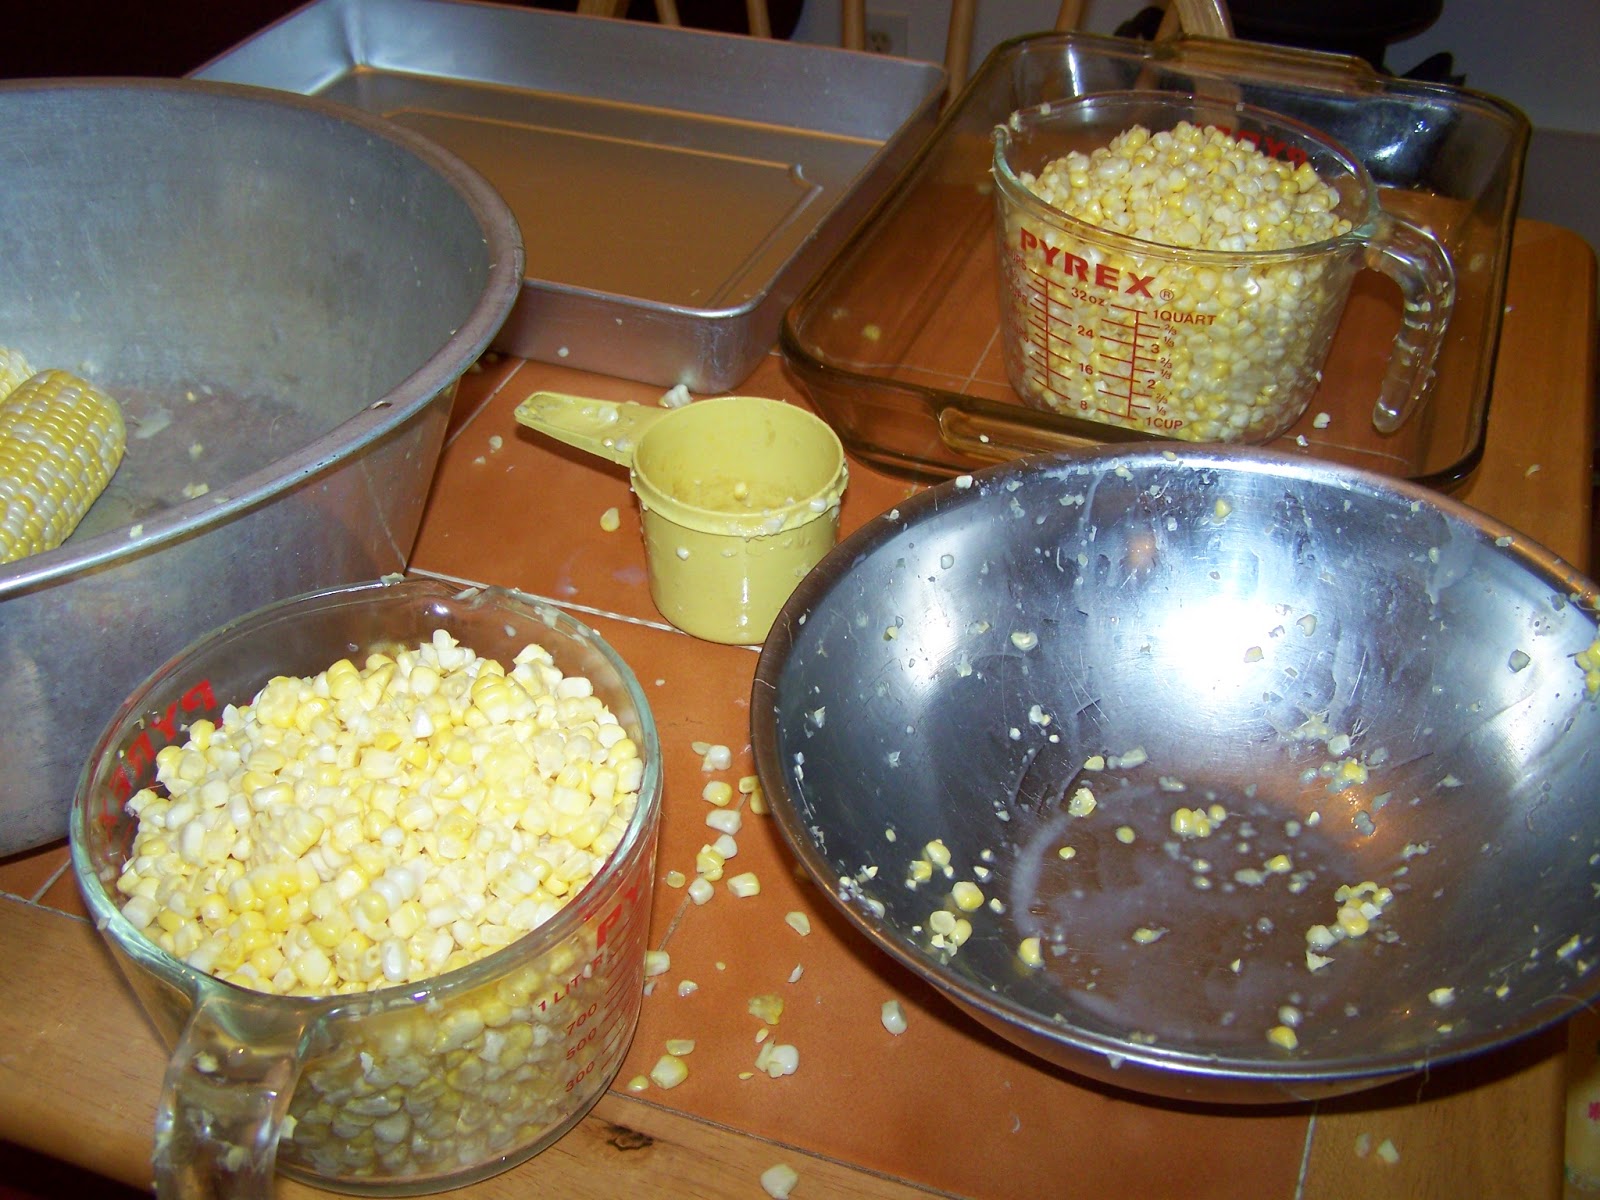
First, you get a bunch of corn . . .

Shuck the corn and cut it off the cob . . .


Get a couple of big pots and put a stick of butter, 1 cup of water and 4 T. of sugar in each one . . .


Add 10 cups of cut off corn to each pot with the butter, water and sugar mixture . . .


Bring to a boil and boil for 3 minutes

Pour the corn into containers to cool . . .


Then fill your freezer bags!

                                I put three cups in each bag

I don't know what I would do without my freezers.

If you are really feeling energetic, take the corn cobs and make corn cob jelly. Click here to see how I did that last year.

Have you put up any food this summer?


Monday, September 14, 2015

Family Reunion

Saturday we had our annual McMillion Family Reunion.

Close to forty family members came out in the cool and slightly rainy weather.

We had a great time! In addition to our auction, which raises money for the reunion, and playing Bingo, we had lots and lots of good food, fellowship and fun photo opportunities in our little 'photo booth'.


We brought props, such as an old pitch fork, eggs and egg basket, hay bales, hats, aprons, pumpkin, bench, etc., to make each picture fun and unique.


My cousin and her son painted the above picture on plywood. They went by this old photo of our grandparents, taken in the early 1900s. I think they did a great job. We all had a fun time posing as Grandma and Grandpa. 


I remember when I was young we would all meet down at Grandma's house on her birthday for a get together and picnic in her yard.  I guess that was what you would call our early reunions.


Do you have family reunions? What fun activities (besides eating) do you do?


Thursday, September 3, 2015

Canning Potatoes


We've been canning this summer. First green beans, then grape and apple jelly and now potatoes!

This is our first attempt at canning potatoes.

It takes around twenty pounds of potatoes to fill seven quart jars (which is a canner full).

We filled a five gallon bucket with potatoes, washed them . . . 


and cut them into pieces.


They were put in water with Fruit-Fresh (ascorbic acid) in it to keep them from turning brown. When you finish cutting them, drain off the water you soaked them in and add boiling water over them and bring them to a boil and cook for two minutes. Drain them again and put the potatoes into quart jars. Then add fresh boiling water over the potatoes in the jars along with a teaspoon of salt.


Attach sterilized lids, twist on rings and put into your canner.
Do not twist the rings on too tight or the lids might warp during the canning process. (We learned this the hard way. The wide mouth lids have more of a tendency to do this)


After the canning process is finished (the potatoes have to process for forty minutes), have a strong person twist the lid off the canner. (I think we need a new gasket. The lid is very hard to get off)


 Voila! Your potatoes are finished.


Take out of the canner and listen for the ping!  Aren't they pretty?


It is very time consuming, but worth it if you have a lot of potatoes in your garden! I just hate it when in the winter our stored potatoes start growing eyes and get all soft and wrinkly.

You can open a jar up during the winter and put the potatoes in soup, mash them, fry them or warm them up and eat them the way they are.

We have did two batches so far. The second batch went a lot smoother than the first one. A little practice and experience goes a long way.

We have two more rows of potatoes to dig. I think we will take a little break and then can a few more.

Have you ever canned potatoes? Just follow the instructions in your canning booklet and preserve the bounty of your garden.