Wednesday, December 24, 2014

Merry Christmas - The Christmas Star


THE CHRISTMAS STAR
          by Janet F. Smart          

The wise men from the east

All traveled from afar,

To find the little babe

Beneath the Christmas star.


I wish I were that star

That went before the kings,

The star of Bethlehem

Of which the angels sing.


I wish I were that star,

The star that showed the way,

And led the kings to find

Our Savior where he lay.


I wish I were that star,

That told of Jesus’ birth.

             The star of awe and hope              

That glowed above the earth!


Merry Christmas everyone! 


Thursday, October 30, 2014

Quick and Easy Spooky Decoration


Do you have any pumpkins sitting on your porch?

Don't want to carve them because it's too messy and time consuming.

This is quick and easy . . . and quite spooky looking.

Make a scary witch with your pumpkin.

First, turn your pumpkin on its side. The stem will be her crooked nose!

Get some messy moss for her hair and cover it with a witch's hat.


I was going to draw on her wicked face with a magic marker, but decided to cut out her eyes, eyebrows and mouth from black sparkly felt. I put green buttons in her eyes and green teeth cut from craft foam on her mouth. I thought that made her look a little evil. If you don't like evil, then leave that part out. You could make her a happy witch!

I added a few other decorations - like orange spiders in her hair and on her crooked nose.


Pretty creepy looking!

You can use different materials than I did. I used what I had on hand. Be imaginative and give her green hair (if you have any Easter grass still hanging around your craft room).

I think she will look kinda spooky on my front porch tonight when we greet the trick or treaters!

What's on your front porch?


Thursday, September 4, 2014

Corn Cob Jelly

Like my mom and my grandma before me, I am a jelly maker!

I've made blackberry jelly and jam, grape jelly, strawberry jam, apple pie jam, pear preserves, etc.

Now I can add corn cob jelly to my list of jellies I have made!

I had heard of it, but never made it before.
My cousins made a batch and I tasted it. Yummy! So, I thought I would give it a try.

We went to an Ohio farm yesterday and bought a huge bag of corn to freeze. After spending all afternoon putting corn in the freezer, I held back a dozen ears of the cobs to make jelly.

If you google it on your computer, you will come up with a variety of recipes to use.
This is how I did it.

CORN COB JELLY
(my version)

12 corn cobs (after you have scraped off the corn with a knife)
1 T. lemon juice
1 pkg of Sure-Jel
sugar
water

Put the cobs in a large pot. (I broke mine into two pieces) and cover them with water. I found that it took almost two quarts to cover the cobs. Bring to a boil and boil with the lid off for 30 minutes.


After  30 minutes, take out the cobs and pour the cooking water through a cheesecloth to strain.


I was wanting 3 or 3 1/2 cups of water. I only had to take out a large tablespoon or two of water to have the 3 1/2 cups of liquid I wanted.

Put your strained liquid into a large pot, add about a teaspoon of butter, 1 Tablespoon of lemon juice, and the Sure-Jel contents. Stir and bring to a boil.

Add 3 1/2 cups of sugar, stir and bring to a boil again. Boil for 2 minutes (while stirring). Take your pot from the heat, skim off any foam and ladle into sterilized jars. Wipe jar rims and threads. (I use a damp paper towel) Screw on your new canning lids and rings and flip the jars upside down for 5 minutes. Then turn upright. Now let them sit undisturbed until you hear a loud ping, indicating they have sealed.

                                                        Five jelly jars of liquid gold.

More tidbits of info:

As always follow manufacture instructions on the canning lids and jars!
I sterilized my jars and put my rings into boiling water to sterilize them.
I dropped my flat lids into boiling water, then immediately took them off the heat and let them stay in the hot (not boiling) water for a few minutes.

As I have always done for many years, I inverted my jars of jelly for 5 minutes, then turned them right-side up. If you don't feel comfortable doing this, then please, by all means, put them in a boiling water bath. I think for small jars of jelly they tell you to process for 10 minutes. (Instructions are on the Sure-Jel package insert.)

When I put my jelly into the jars, I thought it seemed awful watery for lack of better words. I was afraid it wasn't going to gel. But, they sealed quickly - and this morning they were gelled!

If you use different amounts of liquid as some recipes found on the internet call for, always use the same amount of sugar as liquid. For example, if you use 3 cups of strained liquid - add 3 cups of sugar. I had almost 3 1/2 cups of liquid after boiling my cobs, so I used 3 1/2 cups. I am glad I did. The 3 1/2 cup mixture made exactly 5 jars of jelly!

I haven't tasted my batch, yet. But, after filling the jars, I did scrape the pot with a spoon and tasted it.  It was good. It is a little hard to describe the taste. Some say it tastes like honey.
Well - I am sure most of  you have heard of corn whiskey - this is corn honey!

I hope you give it a try, I think you will enjoy it.

Okay, I couldn't wait. I opened a jar and spread some on toast.
It turned out perfect. It has a mild taste and gelled perfectly.


Monday, August 4, 2014

My Blackberries are Ripe!


I finally get to blog about my blackberries.

We had a very bad winter and a very hungry rabbit that liked to chew - so our blackberry canes, that were to have berries on them this year, all died. Every one of them!

I didn't think we were going to have any blackberries this year. But the new canes that grew proved me wrong. Some of them had berries - and that is not supposed to happen. New canes just don't have berries, but somebody forgot to tell them that.


 they like to hide

 peppermint abounds at the end of one of the rows
but I don't complain, because in the other row
poison ivy abounds

I don't have very many, but 
I think they are the prettiest berries I've had in years

I am very proud of my vines. 
They gave it their all and against all odds, they did very, very good!

Anyone else enjoying nature's fruits this year?


Monday, July 14, 2014

Lady Bug Yard Art


We made a lady bug!

Okay, I'm not sure what we made it out of - but it was a steel cover or lid of some sort. This was 'found,' discarded salvage. We like to recover and reuse stuff around here.
 We painted the inside and outside with red spray paint.

 We let it dry and covered it with painter's tape, and using a canning lid as a template, we drew circles for the lady bug spots. We also drew her head and a line down the back.

 My son carefully went around the markings with a razor blade and then tore off the tape.

 We then spray painted it black.

This is what it looked like when the paint dried and we took off the tape.


Somehow my pics disappeared where I took of us making the antennae. What we did was use heavy duty wire and bent them to shape. Then we inserted wooden balls that I had in my craft supplies. The balls already had a hole drilled in them. If you have some that don't, just drill a hole in them to insert into the end of the wires. Paint the balls black.

Then my son used a drill bit and drilled holes to insert the wire into. He then welded the tips of the wire on the underside. 

Finished lady bug in my flower garden in front of my porch.

I just love her! 

Look around and see if you can find something around your house that can be used to make a lady bug with.  

Use your imagination and see the possibilities in things. Recycling old items can be fun!

I found on the internet where they used golf balls for small ones and used tires for large ones.
You can also transform rocks into painted lady bugs!

P.S. I would like to give credit to my son Andrew who did most of the work on this project.

Do you like lady bugs? 

What kind of yard art do you have?


Thursday, July 10, 2014

Yummy Blueberry Treat!


My blueberries are ripe!

My freezer is getting full of these delicious, good for you, berries.

Here is a very easy treat to make with them.

Gather blueberries, a mini muffin pan and liners, and chocolate chips.

Melt the chocolate chips in the microwave.


Dab a little of the melted chocolate in the bottom of the liners - 
add three blueberries - 
add more melted chocolate on top -
let chocolate harden

EASY PEASY !


The finished product:


Yummy!


These are so good! I could eat them all!

I have lots of blueberries, but, you can experiment

and use different types of berries - and different types of chips (semi-sweet or dark).

Try them, you're love them!

Monday, June 23, 2014

School Bus Stop Shelters

Many years ago, the bus stop shelter in our neighborhood was a very busy building, filled with smiling children. On nice days, they stood in line outside the shelter. The two dinosaur backpack toting kids, from this picture taken quite a few years ago, are my two oldest boys.


The shelter now sits empty, filled with overgrown weeds and echoes of the past. After a few rains, the weeds grew fast.


Graffiti remains on the walls, carved there by children who used to wait on the school bus.


A shelf was added in the corner to place the piles of heavy books the children carried to school. Nails lined the top board to hang their backpacks and umbrellas on.


These shelters dot the rural countryside in Jackson County. This one sits and waits for the next group of young children to come along.

Do you have bus stop shelters in our area?


Sunday, June 15, 2014

I Called Him Daddy


I called him Daddy.
He called me Baby.


We weren't rich
But, he worked hard
and provided for all of us

The only guy in a house full of girls


He never wore suits
just work clothes, shoes or boots. 
Except for my wedding day - 
the day he gave me away.

                                                        
But, he didn't give me away -
not really.
Because he was always my daddy
and I was always his baby,
until the day he passed away.


Happy Father's Day, Daddy
I miss you so much
- today and always -


Tuesday, June 3, 2014

My First Book

You may be wondering why I don't post as much as I used to. The reason is that I do a lot of writing now and it keeps me busy. I post over on my writing blog more often than I do here. But, I'm still here, I haven't left. I'm just hiding behind my computer and big stacks of books!

You may know that I write a children's column in a regional magazine called, Two-Lane Livin'. I finally finished a project that I have been working on for a very long time. I compiled my articles into book form and had it published! Included with the articles are easy recipes, poems, crafts, activities and stories for kids. The book is approximately 150 pages long.


Fun Through the Seasons! Recipes, Crafts and Fun Facts for Kids . . . is hot off the presses!

 Fun Through The Seasons!: Recipes, Crafts and Fun Facts for Kids

My first shiny, honest to goodness book.

Here is the description of it on Amazon:

 In Fun Through the Seasons, Janet goes month by month through the seasons with informative articles for children to read and enjoy. The articles appeared in her column, Fun Facts for Kids, in Two-Lane Livin' Magazine. While reading this book, kids will learn all about snowflakes, Independence Day, genealogy, ants, the first Thanksgiving, collecting memories at Christmas, cookies - and much more! Sprinkled among the interesting articles are easy recipes, crafts, poems and challenges for kids in K through 5th grade. Parents will enjoy reading the stories to the younger ones and helping with the activities.

I have been working on putting together this book for a long time.  Each time another month came and went, I had another article to add. I also added a few more easy recipes, stories and poems. The pictures and clip art are grayscale, but perfect for your child to add their own touch to the book by coloring in with colored pencils.

I did it all myself (with help from my son with the cover), learning along the way.  It was a lot of work, but I loved every minute of it and I hope the children who own a copy of it will enjoy reading it as much as I enjoyed writing it. I love writing for kids!

You can get a copy at Amazon or Barnes and Noble or from me (wvsmarties@yahoo.com.) The ones I send out will be autographed and have a handmade bookmark with them. My price is $10 + $2.50 for postage and handling (continental US only).


Happy summer everyone! It has been a long and hard winter that didn't want to let go. But, I think warm weather is finally here to stay and I welcome it.

Wednesday, May 7, 2014

Making a Wreath from Book Pages


I was browsing the internet this morning and came across this post about making a wreath from pages of a book.

You can click here for her post and see her instructions. Her wreath is much prettier than mine. I don't know how she did it, but her finished product looks perfect!

I did mine a little different.

First, instead of covering mine with torn pages, I used material that I tore in around 1 1/2" strips. And - I also made mine out of a Styrofoam wreath form that I had here at the house.


In order to get the paper to come out looking somewhat like a cone, fold from the corner of the paper. Hot glue the end flap of the paper and then hot glue them onto the form. I find it's best to make a bunch of them first and then glue them onto the form.


You can use white material so it matches the paper, but I used gold. (It would probably look neater if the material was white, because it would match) Glue as many layers as you want, the more layers you glue, the fuller it will be. Since I used a form, and it is thicker than the cardboard she used, I glued all of mine on the front of the form.

Okay, I thought I was finished.

But, I found a pretty yellow rose and glued it on. Then I glued a small string of pearls around the middle. Then, I still wasn't satisfied.  So I got out my buttons! I glued buttons here and there all around the inside wreath opening. I love buttons and it helped cover up the ends of the paper tubes :o)


If you decide to make it - have fun!

There are a lot of different ways you could make it. The white looks kind of elegant. You can leave it plain or add flowers and other embellishments.

That's the fun thing about crafting - everyone can put their own touch onto something and make it different. No two are ever alike.


Posted byJanet Smart  on Writing in the Blackberry Patch.

Sunday, April 20, 2014

Yard Art from Old Valve Handles


My son and I (well actually my son) have been making flowers from old valve handles.

They are so pretty! You don't have to worry about dry spells, frosts or deer eating them, either. Which is a big plus around here.

We already had the old valve handles. Andrew bought long metal rods and cut them into different lengths.

Then he got out his blacksmith coal forge and put the ends of the rods in the fire to get red hot. Everyone needs one of these forges. I bet you could roast a marshmallow in no time.


Then he made a wooden form to shape the metal rods while they were still hot.


While I was out running around, he got out his welder and welded the old valve handles onto the tops of the metal rods that he had bent to look like a flower stem.

Here they are all lined up, painted and waiting for their button middle to be attached.


Do you think I have enough buttons to pick from?


Here they are planted in various locations around my yard:


I love the tiny blue ones with the yellow centers. They remind me of bluets.


I put a big brown button in the tall yellow one to make it look like a sunflower.


I dare a drought, frost or animal to mess with these flowers.

Have you ever made yard art before?

Posted byJanet Smart on Writing in the Blackberry Patch.


Wednesday, March 5, 2014

COLLECTIONS

I have many collections that I have blogged about before:
tablecloths, aprons, old books, salt and pepper shakers, milk-glass, vintage hats, vintage wash day collections, vintage kitchen utensils, etc.

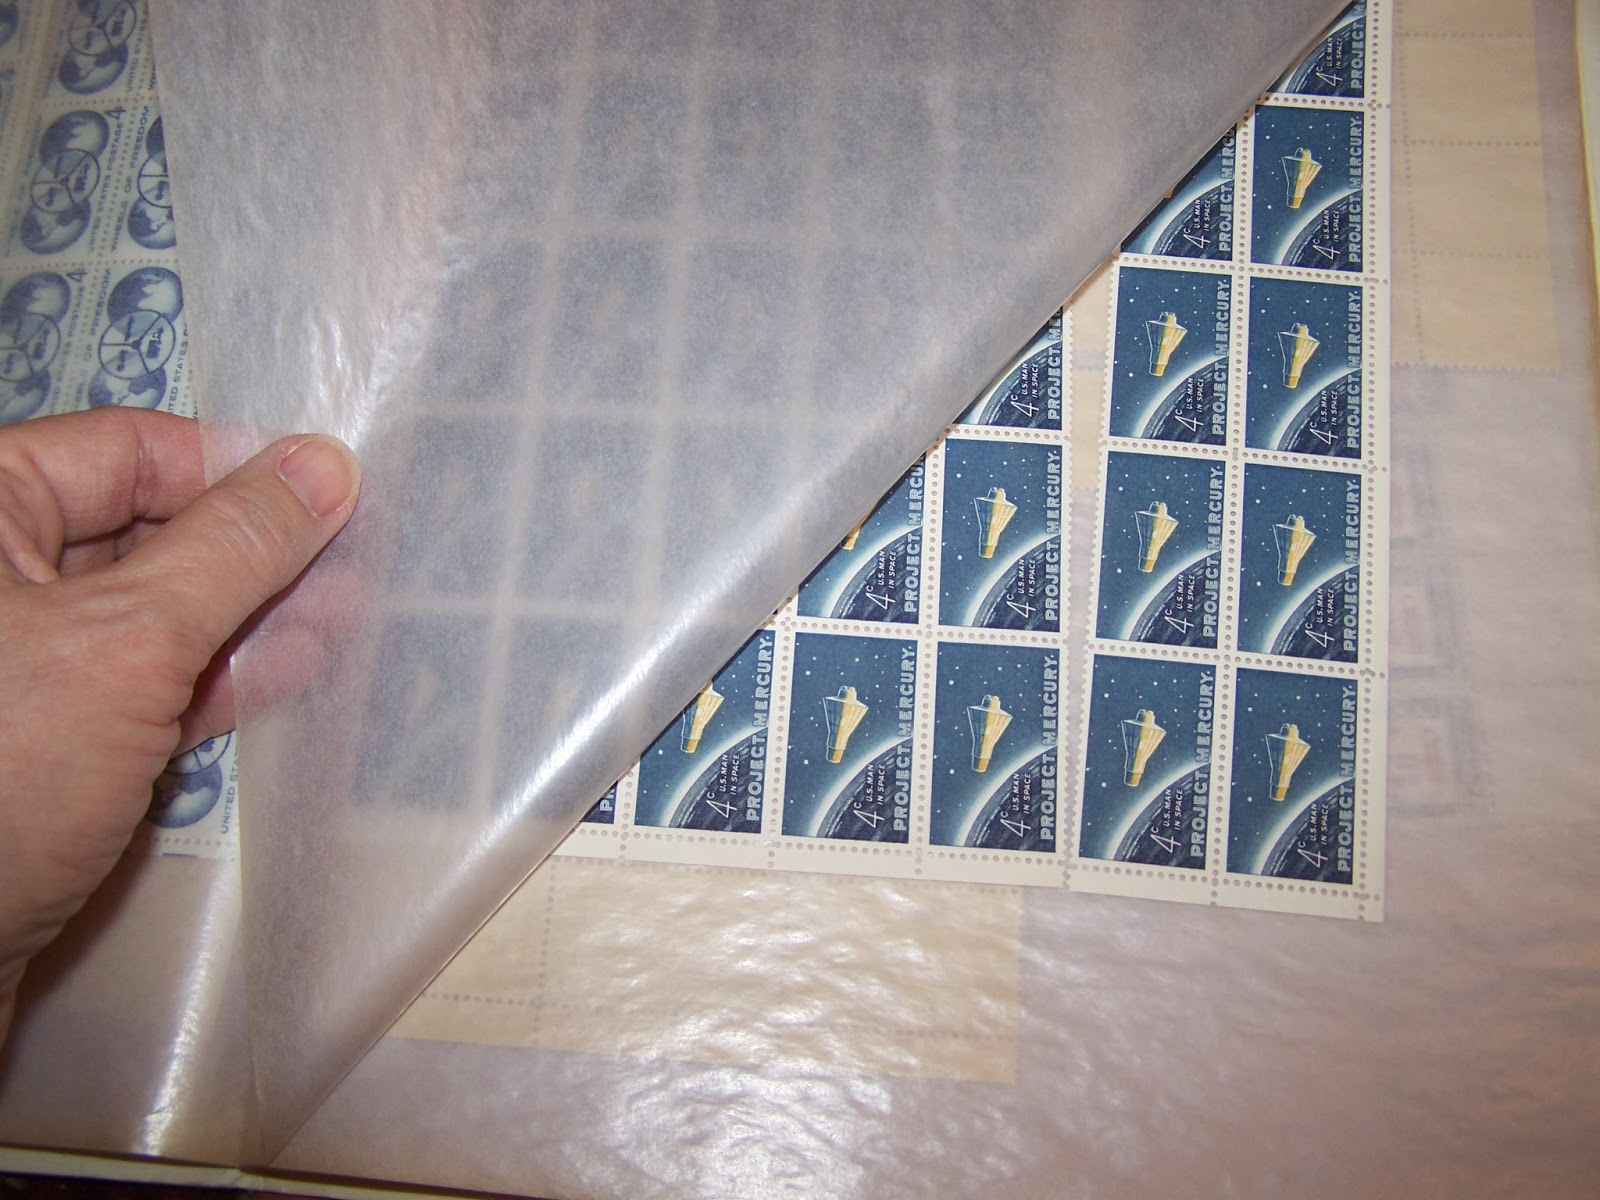
But, many of you may not know that I used to collect postal stamps. Beautiful stamps are a weakness of mine. I do not collect anymore (too expensive), but still have my collection and get them out every now and then and look at them.


I love flag stamps

 space stamps

 stamps about letter writing

I think letter writing is a lost art.
In a way it makes me sad.
I think hand written letters (though not so quick) are so much more personal than emails and texts.

I have a stack of letters that Mom and Dad wrote to each other before they were married and Dad was in Japan during the occupation - after the end of WWII.

I also have a stack of letters Charley wrote me when he was in the Navy and we were dating.

I love getting the letters out and reading them every now and then. 
Notice the upside down stamp. Do you know what that means?
I bet you do.

 Dinosaur stamps

 Of course, I had to get the Elvis stamps.

 I remember using these Love stamps when they came out.

 Our town of Ripley even had a special post mark on envelopes on July 4, 2007

I have many, many more stamps. Sheets, plate blocks, first day covers, singles, etc.

Do you still write letters?
Have you ever collected stamps?

Posted by Janet Smart on Writing in the Blackberry Patch.